Due to the increasing popularity of the rustic aesthetic, the trendiness of wooden crafts has continued to climb. From wood palette signs to using wooden planks as bases for wall art, there are more options than ever before for how you can incorporate wood art masterpieces into your home. However, along with the endless list of various wood art you can make, there are even more possibilities for customization. Here are three treatments for wood to create unique looks:
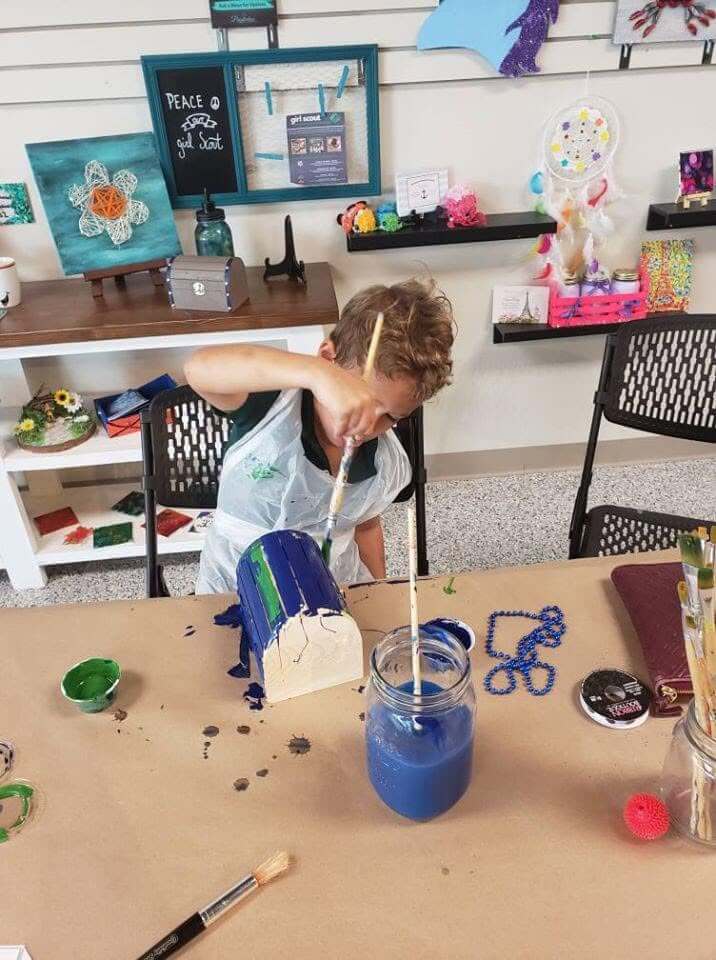
1. Paint
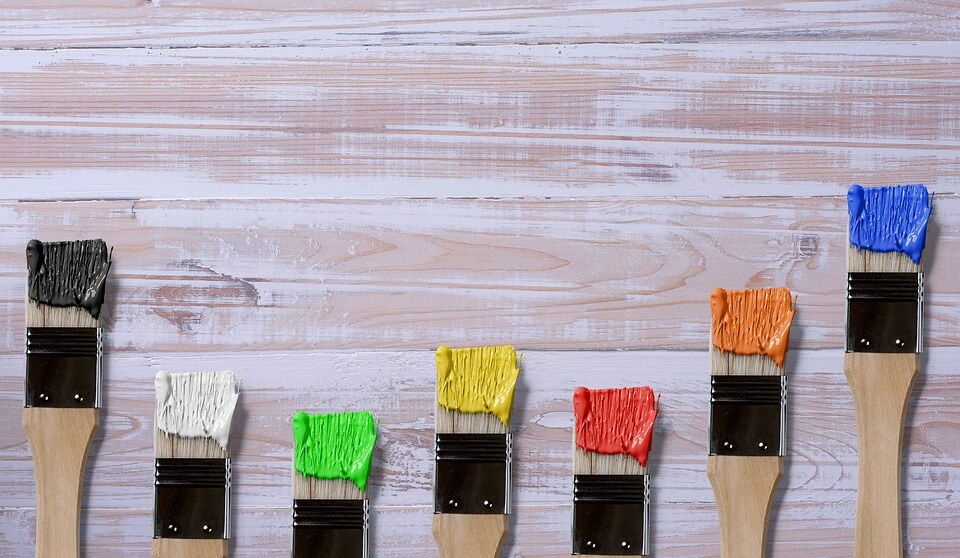 Although this is the most obvious option, painting your wood is the easiest but most effective way to transform your wood. With the rainbow at your fingertips, you can take a blank piece of wood and turn it into a work of art that can be displayed anywhere in your home. Keep it simple with neutral colors such as black and white or make a statement with more vibrant color. You can even select a paint color that matches the color scheme of the room or location you will be displaying the art.
Prior to painting, sand down your wood to ensure a smooth base to paint on. Wipe away any wood dust with a cloth before proceeding to paint. Also, keep in mind that wood is prone to paint chipping. Therefore, if you are displaying your wood art outside or you are looking for an extra layer of protection, make sure to seal-in your paint and prevent future wear and tear with a clear sealant or gloss. Allow the paint to first completely dry before finishing with a top coat.
2. Stain
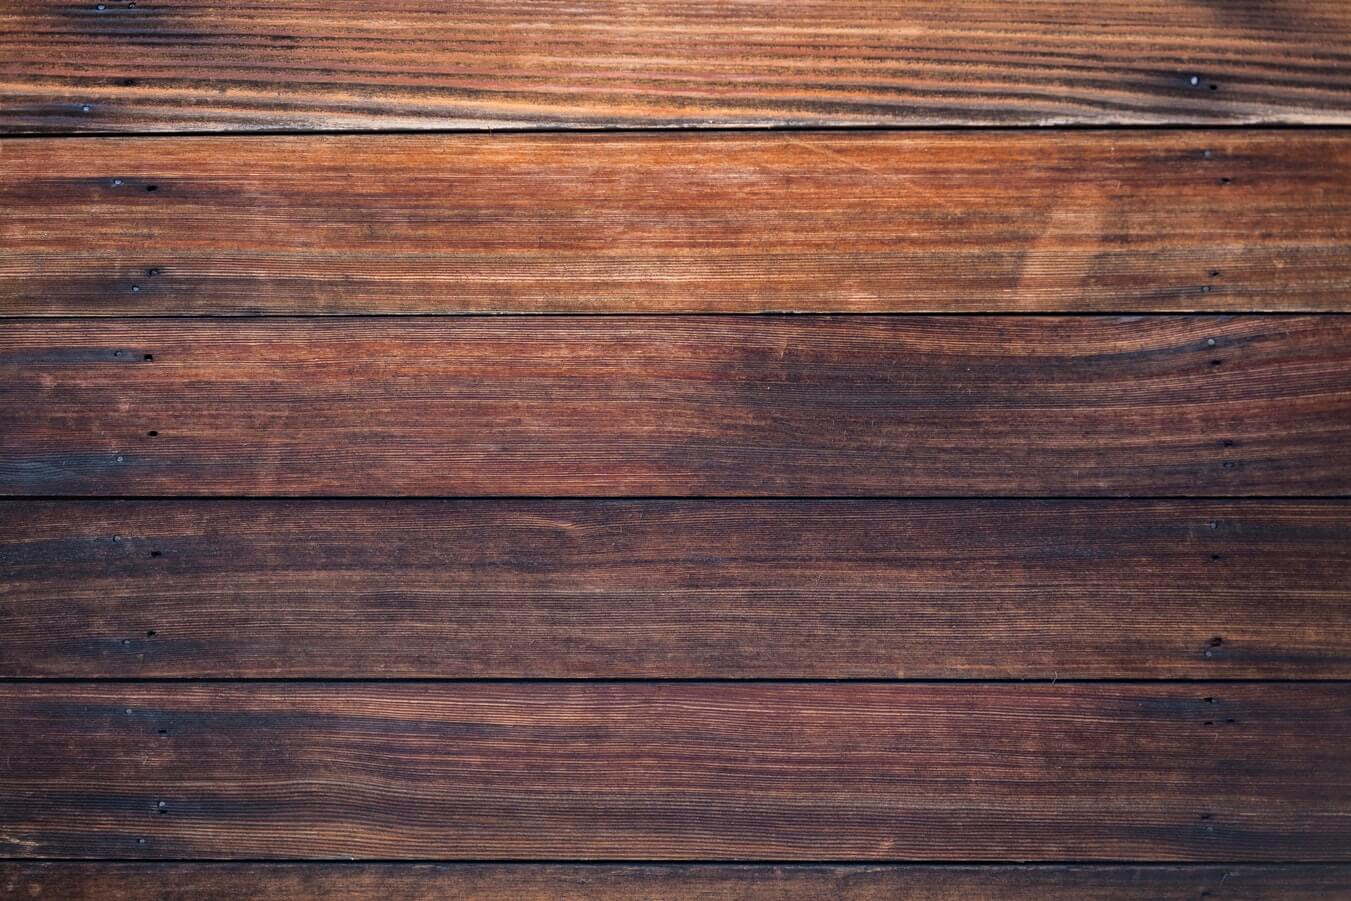 Staining your wood is the best option if you want to maintain the integrity of the wood’s natural appearance. Unlike painting, staining only changes the shade and texture of the wood instead of covering it up. However, like with painting, to prepare your wood for staining, sand down your wood and then wipe away any dust prior to beginning. Once your wood is prepared, you can start the staining process.
Take your desired wood finish color and paint onto your wood with a natural-hair paintbrush. Make sure to apply an even layer that covers the entire surface of your wood including the edges and sides. Once completed, allow the stain to absorb for about 15 minutes (depending on the brand of wood stain used). However, remember that the longer you keep the stain on, the darker the color will be. Afterward, wipe off any excess stain with a cloth, working in the direction of the wood grain, to ensure the stain dries in the wood and not on top of the wood. Set aside and let dry. You can repeat the staining process if you want to achieve a darker shade. Finish with a top coat to protect your stain from fading or wear.
3. Distress
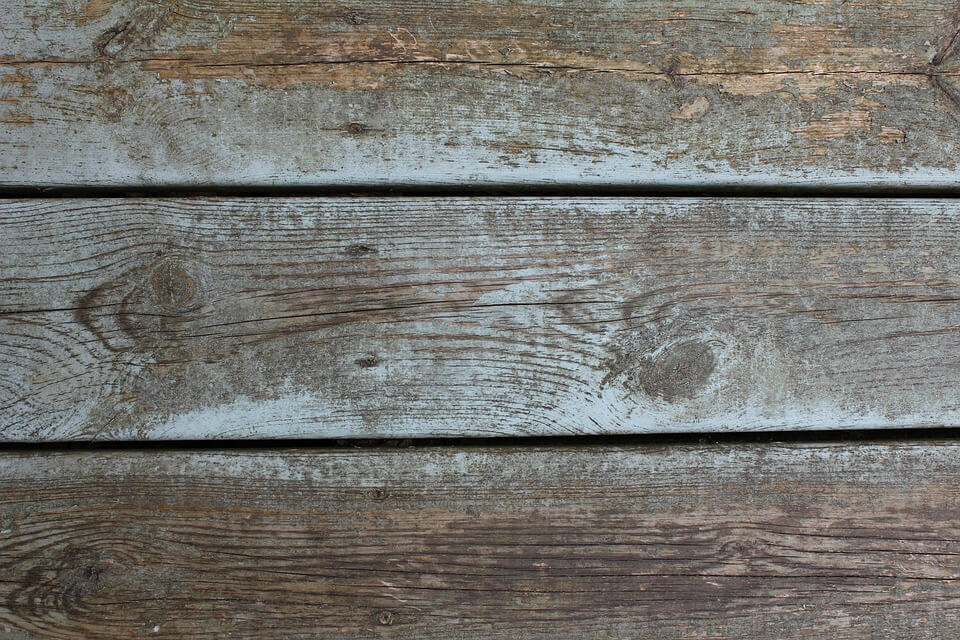 For those looking to channel country vibes, distressing is the best method to achieve that aesthetic. To begin, first paint or stain your wood (as you need some sort of base to distress). Once your desired shade of paint or stain has been applied to your wood and is completely dry, then you can move on to distressing your wood. All you need to do to create this rustic effect is to take either a sander or some sandpaper and scrub at your wooden surface. Depending on the look you are trying to achieve, you can scrub harder or softer. Remember, the harder you scrub, the more of the paint or stain you just applied will be removed. So, if you want more or less of your wood’s natural color to peek through, rub accordingly. Make sure to use the sandpaper over the whole surface but focus mainly on the periphery and the edges. These are the locations that would naturally become more worn on a piece of wood and will make the effect more believable.
In Pinspiration’s main art studio, you can create your own wood art masterpieces with ease. With a variety of woodcraft options available and all the necessary supplies provided, Pinspiration has got you covered for all of your wood art needs. Plus, let us worry about the mess and clean-up! Book an appointment at pinspiration.com to create your artwork today.