Looking for some unique décor to help spruce up your living space? If you don’t want to head to the store and pick up some mass-produced artwork, try creating your own string art instead! String art is one of today’s hottest décor crafts since it is easily customizable to your personal style and home’s color scheme. In addition, it is such a fun DIY to make no matter your skill level. We loved what Honey&Fitz did with her string art! See her examples below:
Supplies Needed:
- 1-inch thick wooden board (12″ by 12″ or 16″ by 16″ work great, but you can choose almost any size you like)
- Paintbrushes
- Wood stain / paint
- 1.25″ nails
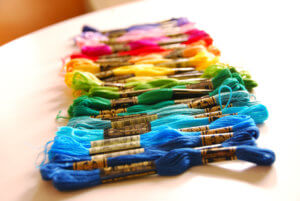
- Embroidery thread
- Sandpaper
Instructions:
- To begin your project, sand down your wood board to smooth out any rough patches. Make sure to focus especially on the board’s borders and edges as they tend to be the sharpest. If your board is already pre-sanded, you can skip this step.
-
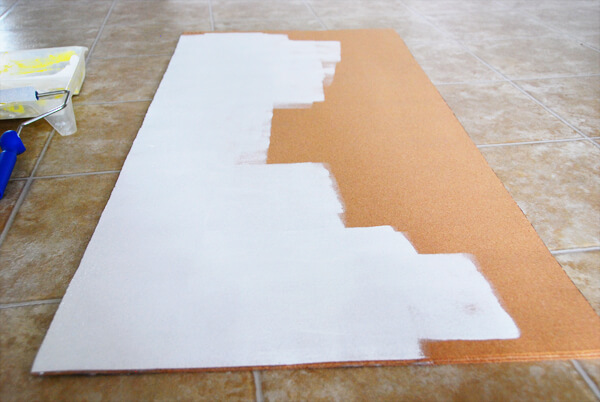
Photo Courtesy of Honey&Fitz Take a paintbrush and paint/stain your board if desired. You can keep the board one solid color or opt to paint a design/pattern. If you choose to paint or stain your board, do so prior to creating your string art design as you won’t be able to go back and change the look of your board later. Let completely dry before proceeding.
- Go online and print out a stencil or create your own using a piece of paper. There is a plethora of stencils available for every skill level. If you’re a beginner, try to stick to more simplistic designs such as flowers, letters, and shapes. If you’re more experienced, feel free to experiment with fun words/phrases, states, animals, etc.
- Once you’ve selected your stencil, cut it out and position on top of your board. After you align your stencil to your desired location, tape it down onto the board.
-
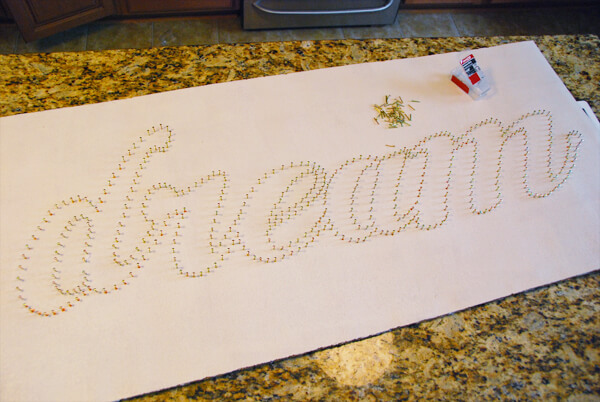
Photo Courtesy of Honey&Fitz Next, grab a hammer and lightly nail holes around the periphery of your stencil. Your goal is to make small indents that you will later use as a guide for where to place the nails. When creating the indents, puncture deep enough into the board so you can clearly see where to nail later, but not too deep where the nail stays in the board. Keep your holes about .5 inch or one finger width apart.
- After finishing, peel off the stencil from your board. Then, hammer your nails into the holes you just created. Leave 50% of the nail sticking out of the board so you have plenty of room to wrap layers of string.
- Now you can start the fun part! To begin, tie off one end of your embroidery thread onto any nail. Double-knot the string and cut off any excess.
-
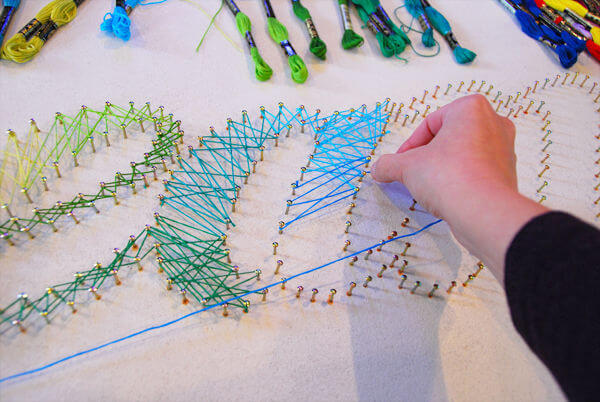
Photo Courtesy of Honey&Fitz Once you have created an anchor point, start winding your string back and forth from nail to nail. Be sure to keep the string tight as you work. You want the thread to be taut enough to prevent the string from drooping or sliding down, but not too taut as you can accidentally put too much stress on the nails and cause them to pull out of the board or bend to odd angles.
- Play around with your looping techniques. Keep it consistent by looping back and forth between nails directly across from one another or take a more freestyle approach by randomly crossing the string to random nails on the opposite side of your pattern. Try out several different techniques and figure out which style you prefer best.
- If you run out of string or want to switch out colors at any point, tie your string off at the closest nail and double-knot. Cut off any excess string and hide under your design. To start again, simply tie a fresh string onto any nail and continue looping your string from nail to nail like before.
- Keep winding your string until you’re satisfied with the outcome of your design. When complete, tie off and double-knot. Cut off any excess and hide under your design.

In Pinspiration’s craft studio, you can create your own string art masterpiece with ease! With over 40 different stencil designs and all necessary supplies provided, Pinspiration has you covered for all of your string art needs – plus, let us worry about the mess and clean-up! All you need to think about is where you’re going to hang it up – book an appointment at pinspiration.com.


