If you are planning a wedding, you probably already know that all things wedding-related are overpriced. Especially decor. If you’re a DIYer like we are, then you’ve come to the right place! Do-it-yourself wedding centerpieces add a level of care and love to your tablescapes that store-bought or rented decorations simply can’t provide… at a fraction of the cost. The best part? They’re as customizable as they are beautiful.
Here are five simple DIY wedding centerpieces that are sure to make your wedding extra special.
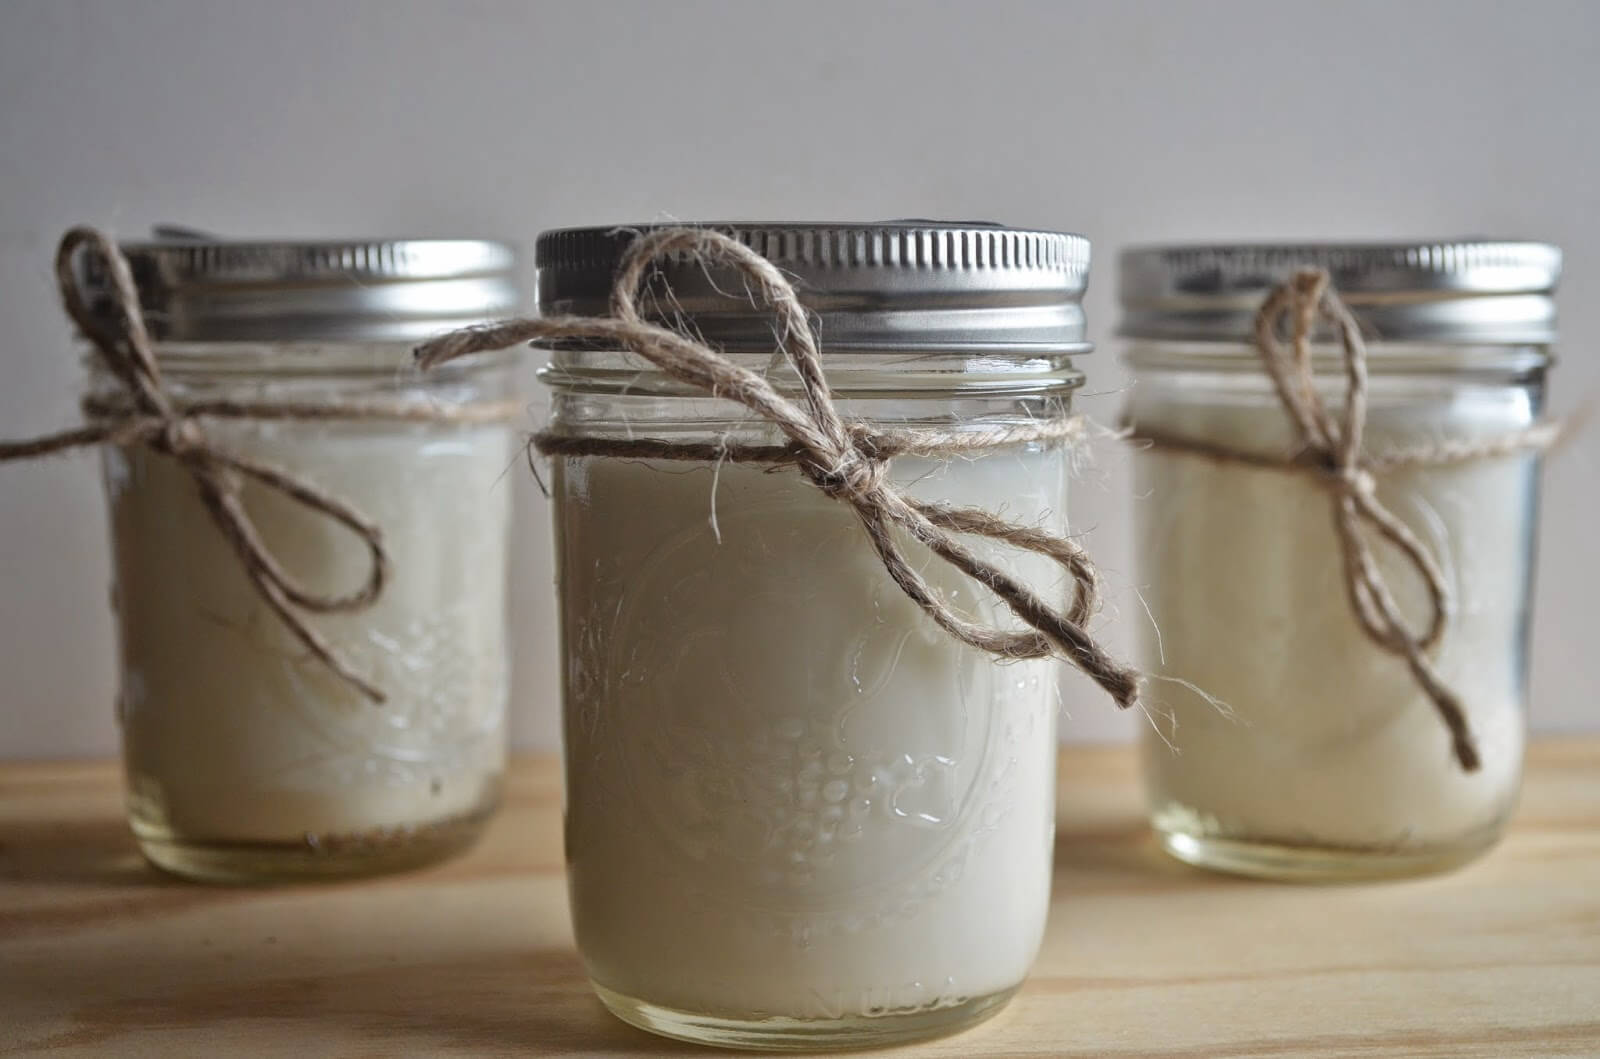
DIY Soy Candles
Supplies Needed:
- Six 8oz mason jars
- 2 lbs. soy wax
- Wicks
- Candlewick tabs
- Glue gun
- Wooden skewers
- Scissors
- Scotch tape
- Candy thermometer (optional)
- Small pot
- Large glass mixing bowl (slightly larger than your pot)
- 2 oz. fragrance oil (an essential oil of your choosing!)
- Decorations of your choosing (ribbon, twine, jewels, monogram letters, paint, etc.)
Instructions:
- Cut 6 pieces from your spool of candlewick, each 2 inches taller than the mason jars you’re using
- Thread the wicks through the rectangular wick tabs. This is an important step because the tab is what keeps your wick from falling over or getting easily pulled out when the candle is lit.
- Once you’ve attached the wick tabs, carefully use your hot glue gun to secure the wick to the bottom of the jar.
- Take a wooden skewer and place it over the top of the mason jar. Using a piece of scotch tape, secure the loose end of the wick to the skewer so that it’s perched vertically in the center of the jar. Make sure the wick is standing up straight and taut, or it will burn the candle unevenly over time. Once you’ve finished each mason jar, give the project at least an hour to dry before moving forward to the next step.
- Create a double boiler (like you’re making fondue) by boiling a small amount of water in a pot, and placing your glass bowl on top of it. This will create an even heat that will melt your wax without burning it.
- Put all of your soy wax into the glass bowl.
- Turn on medium heat. Stir regularly until all of the wax has melted. For best results, use a candy thermometer to know when it’s time to remove the wax. Once the temperature hits 170-180 degrees, take it off the heat. Be careful, as the bowl will be very hot. Oven mitts are a great way to keep your hands safe when handling the wax.
- Once the wax cools to 140 degrees, add your choice of essential oils or fragrance, and stir until it’s well incorporated into the mixture.
- Allow to cool once more until the wax hits 120 degrees. Then, evenly distribute the contents between each of the mason jars you have set aside, being sure to keep the wicks centered in the jar as the wax is poured in.
- Finish your piece with embellishments that match your wedding theme – whether that may be ribbons and bejewels, or a simple strip of twine. You can also paint or add vinyl lettering to the outside of the jars.
Pinspiration offers DIY soy candles as a craft offering! Click here to learn more.
DIY LOVE Floral Buckets
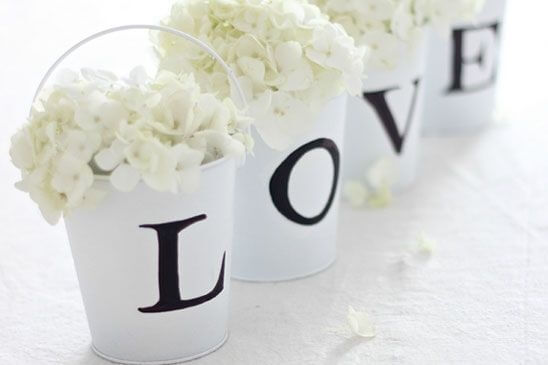
This project is a lot of fun because it’s simple, and gives you a really beautiful aesthetic once finished.
Supplies Needed:
- Four small white buckets
- Black acrylic paint
- Fine-tipped paintbrush
- White hydrangeas (live or silk)
- Letter stencils (optional)
- Cup of water for paintbrush
Instructions:
- We suggest outlining the letters with pencil on the pots before starting! Using stencils can make your letters look professional.
- Dip your fine-tipped paintbrush into the black acrylic paint. Make sure to keep a small cup of water on hand in case you need to rinse the paintbrush off!
- Proceed to paint one letter of the word “love” on each of the separate buckets. Be sure that you allocate four buckets per table, less you leave your guests wondering what “ove” means.
- Allow the paint to dry over the next hour or so.
- Fill your mini buckets up with hydrangeas, or any other small flowers for an instant elegant look.
- Arrange the buckets in order to complete your beautiful tablescape!
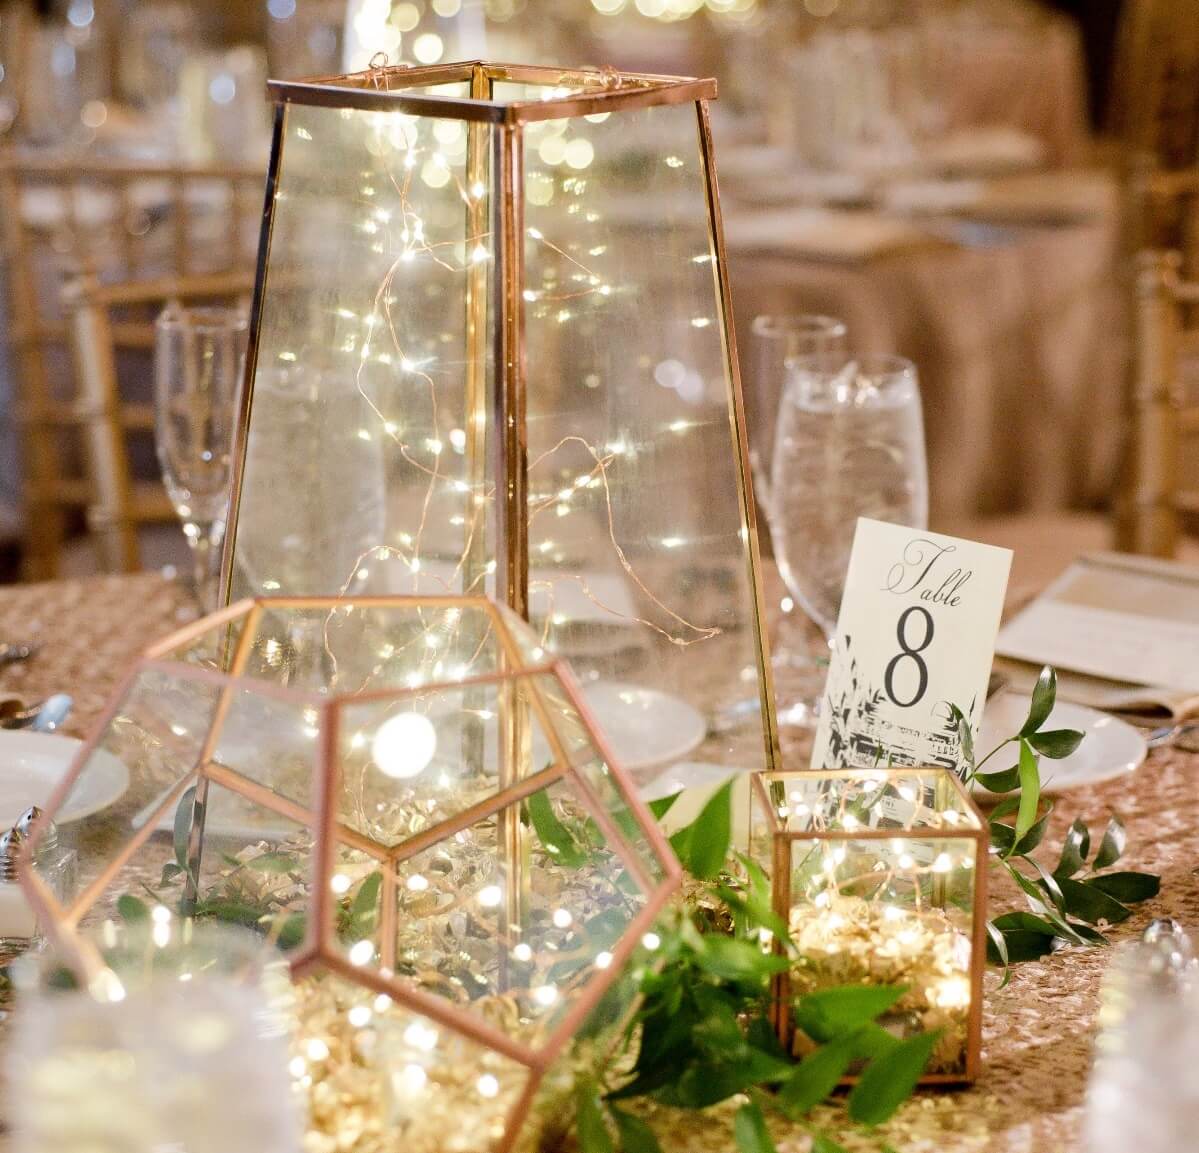
DIY LED Terrariums
Supplies Needed:
- 3 Terrariums of different shapes and sizes
- 6 Strands Wire LED Lights
- Pebbles or Stones of your choosing
- 1 strand of faux foliage
- Scissors
Instructions:
- Make sure the glass on each of the terrariums is clean and smudge-free as imperfections will show easily once illuminated.
- Take your stones and add about a one-inch-thick layer to the base of each enclosure. To add more dimension and texture, try adding different colors/sizes of stone to each terrarium.
- Unravel the wire LED lights and place them in the terrarium, burying the battery pack beneath the pebbles. Try to place the lights so they equally fill the structure. Feel free to use two strands in the larger terrariums to really make them pop!
- Using your scissors, cut the foliage into 3-foot sections. Take one end and simply thread it between the three glowing terrariums. Easy as that, you now have a centerpiece to remember!
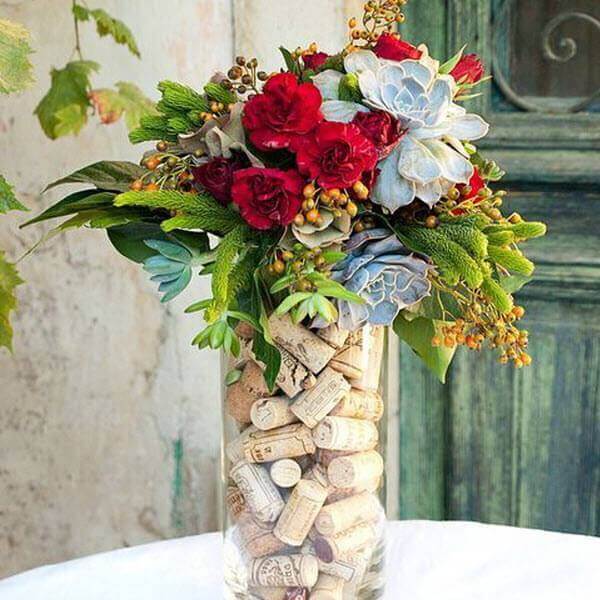
DIY Wine Cork Floral Arrangement
Supplies Needed:
- Full Bouquet of Real or Faux Flowers
- Wine Corks
- Clear Glass Vase
Instructions:
- Organize your flowers into the bouquet of your preference.
- Place the stems into a glass vase of your choosing, at the correct level and hold them there with one hand.
- Slowly begin to place the wine corks in the vase, ensuring there aren’t any big gaps. Be sure the corks are situated in a way that the stems are completely hidden.
- Make any final tweaks to your arrangement to get it just right. And there you have it, a gorgeous and tasteful centerpiece for your special day.
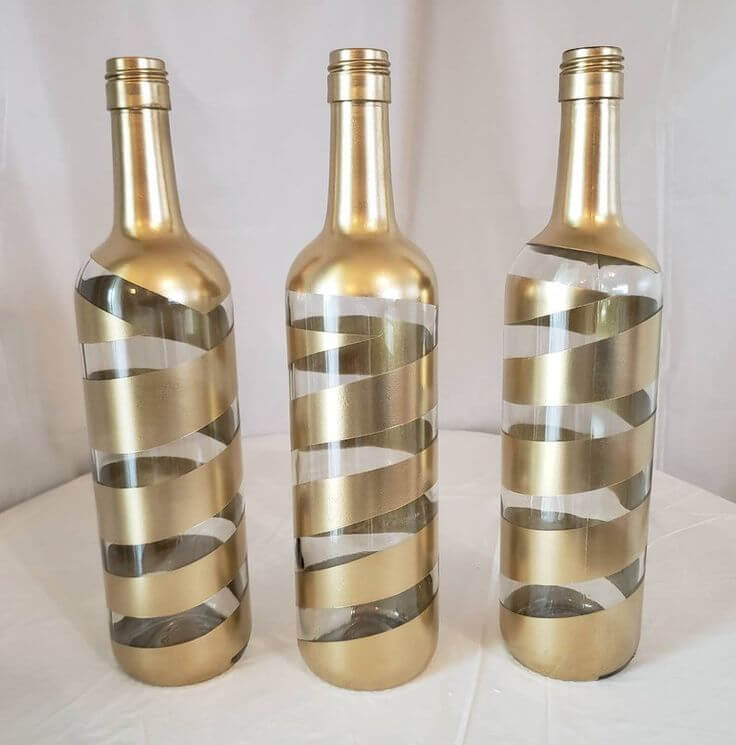
DIY Spiral Bottle Flower Vases
Supplies Needed:
- Roll of Painter’s Tape
- Scissors
- Clear Wine Bottles
- Spray Paint in the color of your choice (gold looks great!)
- Assortment of real or Faux Flowers
- Newspapers on an open workspace
Instructions:
- Start by making sure your wine bottles are clean, and clear off any labels or residual adhesives.
- Starting just at the base of the bottle, begin wrapping the painter’s tape in a loose spiral around the body of the bottle. Be sure to go slowly and make sure there are no wrinkles or tears in the tape as you go.
- Once you’ve reached the top, neatly cut the tape and wrap the tip underneath the rim.
- From there, set the bottle on the newspaper and begin spraying them with the spray paint of your choosing! Make sure you shake the paint can well and hold it about a foot away from the bottle to avoid any drips!
- Let the finished product sit untouched until the paint has completely dried.
- Once dry, gently peel the tape away from the bottle.
We hope these five simple DIY wedding centerpieces inspired your next do it yourself project! These are sure to turn heads and can be customized to fit your own unique decorating style. Good luck making your special day just a little more magical!
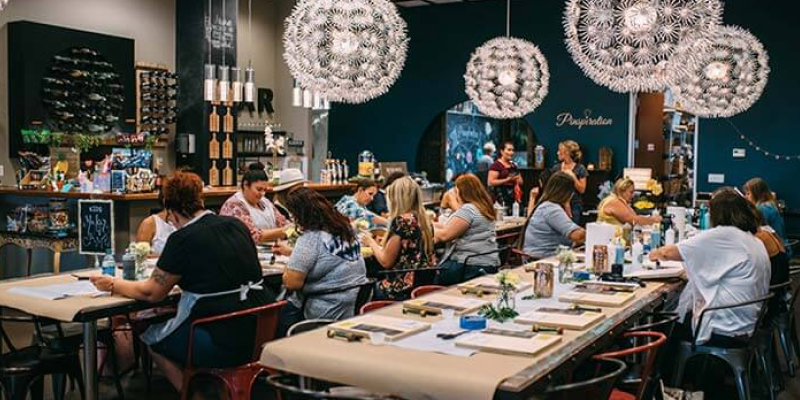
In Pinspiration’s Main Studio, you can create your own DIY wedding centerpieces with ease. With a variety of stencils, embellishments, and all necessary supplies provided, Pinspiration has got you covered for all of your DIY wedding needs – plus, let us worry about the mess and clean-up! All you need to think about is where you’re going to display it – book an appointment at pinspiration.com


